Amazon Brand Registry Checklist & Step-by-Step Guide
Amazon Brand Registry is a feature specifically for sellers that manufacture their own products. Once your brand is registered, Amazon gives you access to several unique features that can help substantially grow your sales and revenue. Some of these unique features include:
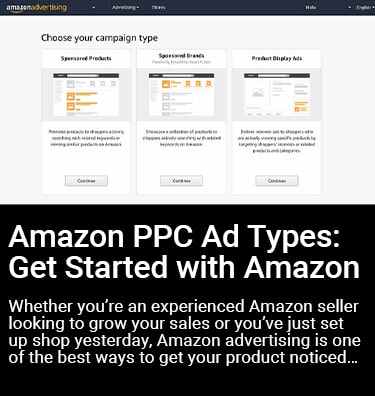
- Sponsored Brand Ads
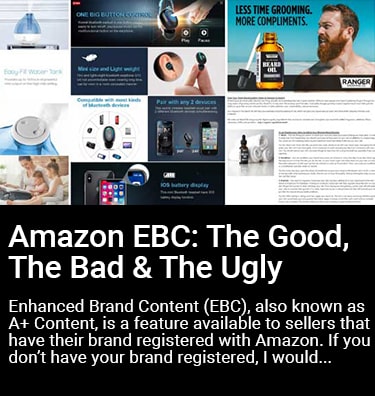
- Enhanced Brand Content
- Amazon Store Front
This sounds like a no-brainer, right? So why aren’t all manufacturers registering their brand? Well, the process can be a bit tricky and time-consuming. This article will give you everything you need to know to successfully register your brand with Amazon. First things first, though. To register your brand on Amazon, you must have a legal trademark on your brand. Online services like Trademark Engine can help make this process simple, quick and seamless.
Assuming you have your brand trademarked, our next recommendation is to gather all the information you’ll need to complete the registration process. For a detailed list, here’s a handy Brand Registry Checklist that you can copy and use to help you collect all of the required info. Here’s a summary of what you’ll need, and we’ll explain these items in a bit more detail as we walk you through the process.
Amazon Brand Registry Checklist
- Your Name – full name as it appears on legal documents or trademark applications
- Address – must match the business address in your Amazon Seller or Vendor account settings
- Admin email address on your Amazon Seller or Vendor account
- Phone Number and immediate access to your phone
- Brand Name (must match your trademark)
- Registered Trademark
- Trademark Serial Number
- Country of trademark office
- Images of your Brand logo
- Images of products or packaging with your brand logo on them
- Product categories you sell this brand in
- List of countries where your products are manufactured
- List of countries where your products are distributed
Amazon Brand Registration Process
Now that you have everything ready on your checklist, let’s get started registering your brand!
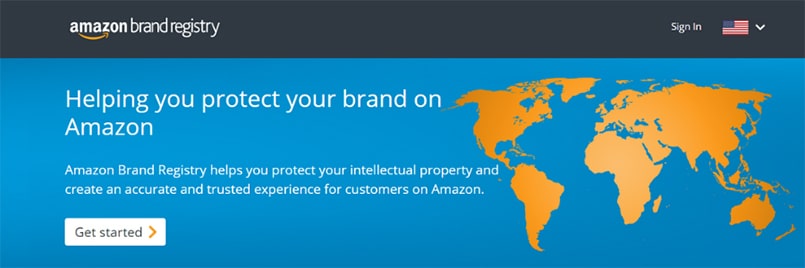
Step 1: Get Started
Go to https://brandservices.amazon.com/. Click on Get Started > Enroll Now.
Step 2: Log In
Log in using your Amazon Seller Or Vendor Central admin account.
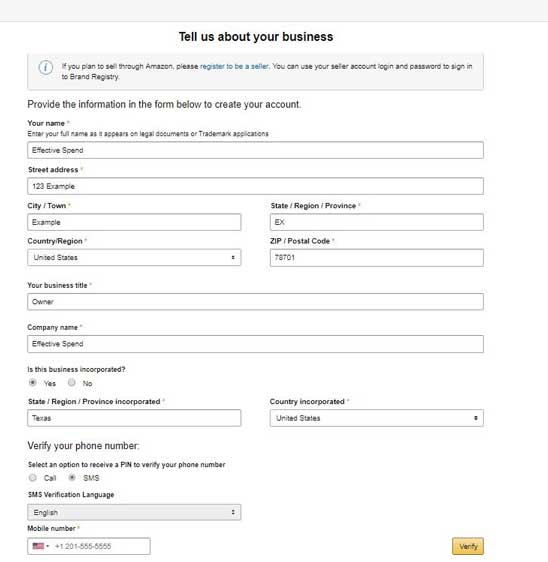
Step 3: Basic Company Information
Fill out basic company information. In this step, you will fill out basic information about your business and create a Brand Registry account (Address, Name, etc.) Make sure the information matches the information on your Seller or Vendor Central account. Once you fill out the basic information, you will need to verify your phone number by either call or text. Once everything is filled out/confirmed click “Create Account.”
Step 4: Enroll a New Brand
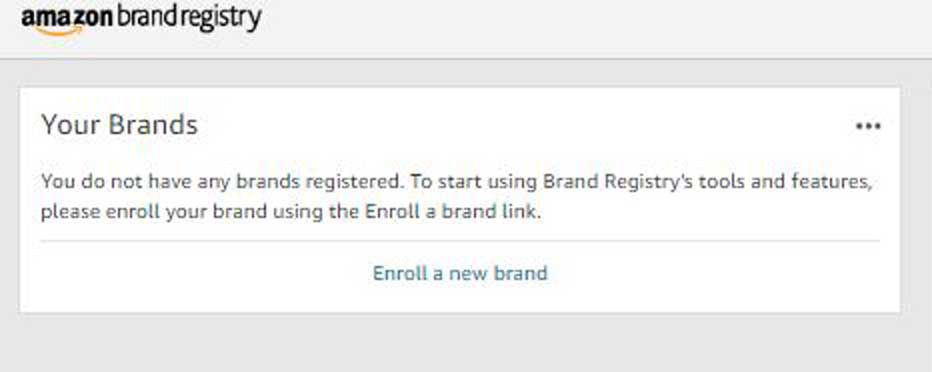
You will be sent to the Amazon Brand Registry page. You can enroll multiple brands if you have them. Let’s move on to start setting up your brand. Click on “Enroll a New Brand”.
Step 5: Confirm Brand Eligibility
First, Amazon will ask if your products and packaging have a permanently affixed brand name and logo. If the answer is no, you will not qualify for Brand Registry. You will need to get your brand name and logo printed or otherwise affixed to EITHER your product OR your packaging. In the next step, you will be asked to upload images of your product or packaging with your brand name/logo on them.
Next, it will ask for your brand name. Make sure your brand name to be registered is exactly as it appears on your products, product pages, and trademark information. The name you input will automatically be inputted for Trademark information in the next step.
Step 6: Trademark Information
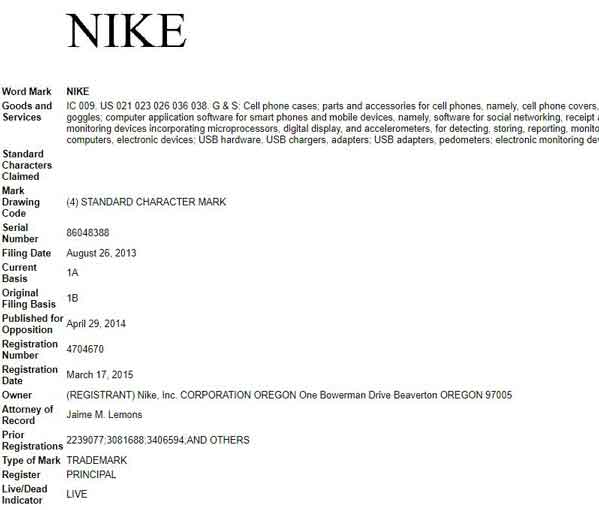
Provide your trademark information which includes the Trademark type, Mark Name (Auto-filled from brand name entered in the previous step), trademark serial number, and country of Trademark Office.
If you can’t find your Trademark type or number, and filed your Trademark in the US you can use the US Government’s online TESS tool to search for your Trademark information. Here’s an example of the information the TESS tool will show you for your registered trademark:
Step 7: Additional Business Information
Here, Amazon will ask you a few more questions about your business. First up, they’ll ask if you each of your products use a unique identifier, such as a UPC or GTIN. If the answer is no, you WILL be able to complete your brand registration, but you will NOT be able to list products as a Seller unless you complete a GTIN Exemption Request.
Next, Amazon asks: “If you sell your products online, let us know where (optional).” Our recommendation is to either leave this blank or only provide the URL of your own eCommerce website. Amazon doesn’t need to know if you’re selling on other channels. Amazon can quickly become your competitor, so always be hesitant about giving them any extra information that isn’t absolutely required.
In this step, you’ll also need to clarify if you’re a seller or a vendor. To clarify, a seller is someone who sells products directly to customers using Amazon. If you are a seller, you will use Amazon Seller Central. A vendor sells products to Amazon and then Amazon sells your products to their customers (i.e. Amazon is a retailer of your products). If you’re a vendor you will use Amazon Vendor Central. Depending on which Seller or Vendor accounts you have, provide the Admin email information for that account. The email must match exactly to the admin email you use for your account.
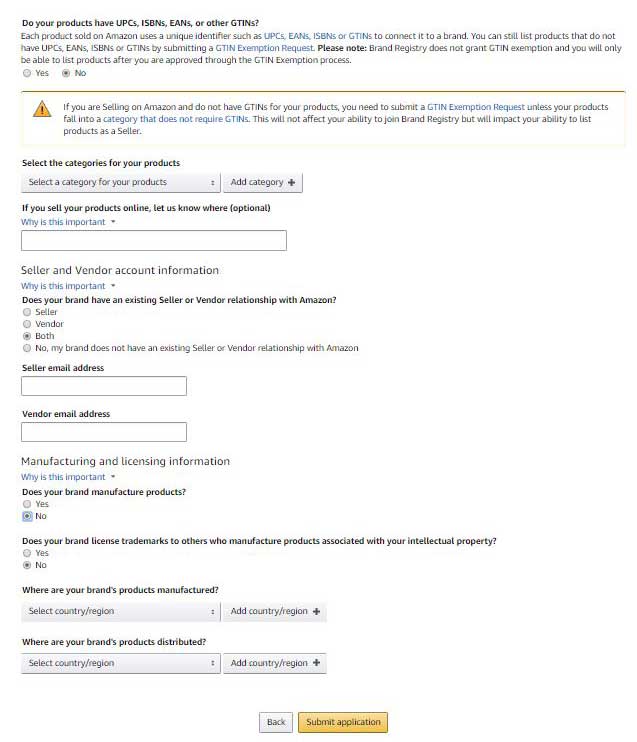
Finally, there will be several questions regarding manufacturing, licensing and distribution. Once you are done filling out the information, you will submit your application to Amazon for approval.
Step 8: Application Processing
Once you’ve submitted your brand registration, Amazon will process your application. It usually takes two weeks for Amazon to get back to you on your application. When you log back into the Amazon Brand Registry page, your status should now show as “under review.” Even though Amazon no longer requires you to upload images of your products and packaging to complete the registration process, we would still recommend that you take pictures of your logo on your products and packaging and have them ready to send to Amazon. Our clients have occasionally received follow up messages from the Brand Registry team to send those over.

Step 9: Trademark Confirmation
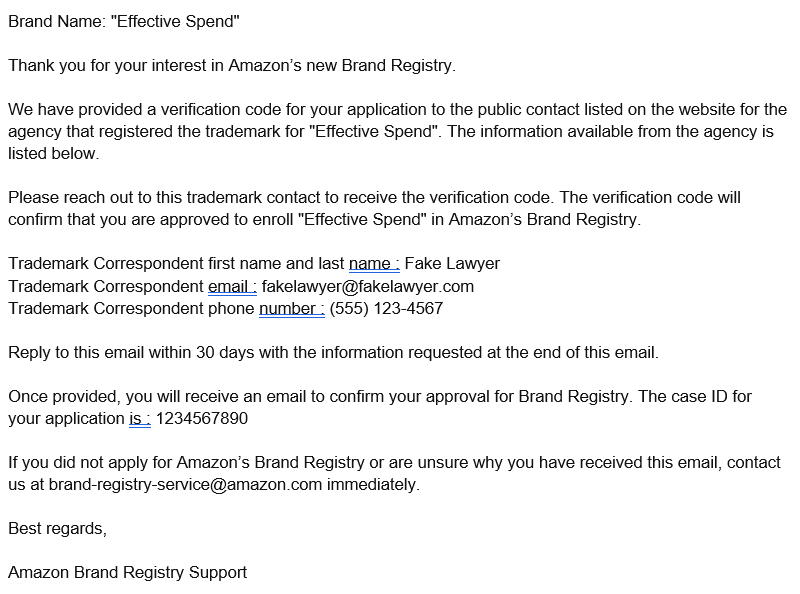
After your application is processed, Amazon will send over an email informing you that they have sent a confirmation code to the Law firm which filed your trademark. Here’s an example of the email you’ll receive. The email will include the name and contact of the trademark lawyer you will need to get in touch with. This is based on the trademark serial number you input.
Our recommendation is to get the lawyer’s information ahead of time by searching your trademark in TESS. Contact the lawyer to give them a heads up that they’ll be receiving a code from Amazon and ask them to forward that to you as soon as they receive it. This can help expedite the registration process and help avoid any confusion the law firm may have when they receive the code from Amazon.
You will need to get the confirmation code from the law firm and send it to back to Amazon. Once you send this verification code, Amazon will send you an email confirming that your brand registration has been approved and completed. The average turnaround time for this is pretty quick – 2-3 days! But, if it’s been more than a week with no confirmation from Amazon, make sure to message the Amazon representative that’s been emailing with you to check in.
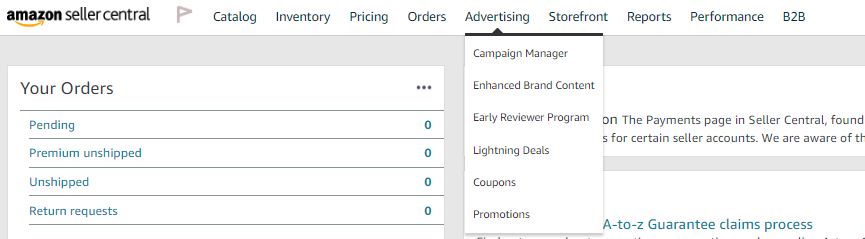
Now that your registration is complete, you can get started using some of the new features available to you. Under the advertising menu, you’ll find tabs to Enhanced Brand Content and Promotions, where you’ll be able to set up your Sponsored Brand Ads.
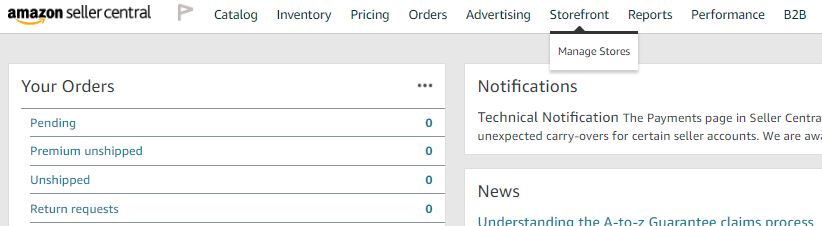
Under the Storefront menu, click on “Manage Stores” to start setting up your Amazon storefront.
With your brand registration complete, you will want to be sure you know how to legally protect your trademarked goods on Amazon. View this guide to learn more.
Happy selling!
More From Effective Spend